Seven Ways to Hang Scottish Prints in a Rented Flat — No Nails, No Nerves, No Deposit Drama
Photo: Ercole Bazzicaluva, CC0, via Wikimedia Commons
Renting and wanting nice walls are not mutually exclusive. Plenty of tenancy agreements say no nails, no screws, no fixings of any kind — and plenty of renters quietly assume that means bare magnolia for the foreseeable future. It doesn't. There are at least seven ways to get Scottish landscape and city prints onto a wall without leaving a single hole, and most of them cost less than a takeaway.
A quick word first: check your tenancy agreement and, if you're unsure, ask the letting agent in writing what counts as acceptable. Most landlords are relaxed about removable adhesive products and deeply unrelaxed about drill bits. Fair wear and tear is also a real thing under deposit protection rules, but the safest route is always the one that leaves nothing behind at all.
1. Removable adhesive strips — done properly
The well-known stretch-and-release hook strips are the workhorse here, and most deposit horror stories come from using them badly rather than from the product itself. The rules are simple. Clean the wall and let it dry. Press the strip firmly for the full thirty seconds, then wait an hour before hanging anything. Keep well inside the weight limit — a lightweight A3 frame is usually fine, a heavy glazed job is not. Remove by stretching the tab slowly and flat against the wall, never by pulling outwards.
Where they go wrong: woodchip, freshly painted walls (give new paint a month to cure), wallpaper, above radiators, and bathrooms where steam does its worst. Test one strip somewhere hidden first. And keep the spares — you'll want them at the next place.
2. Lean, don't hang
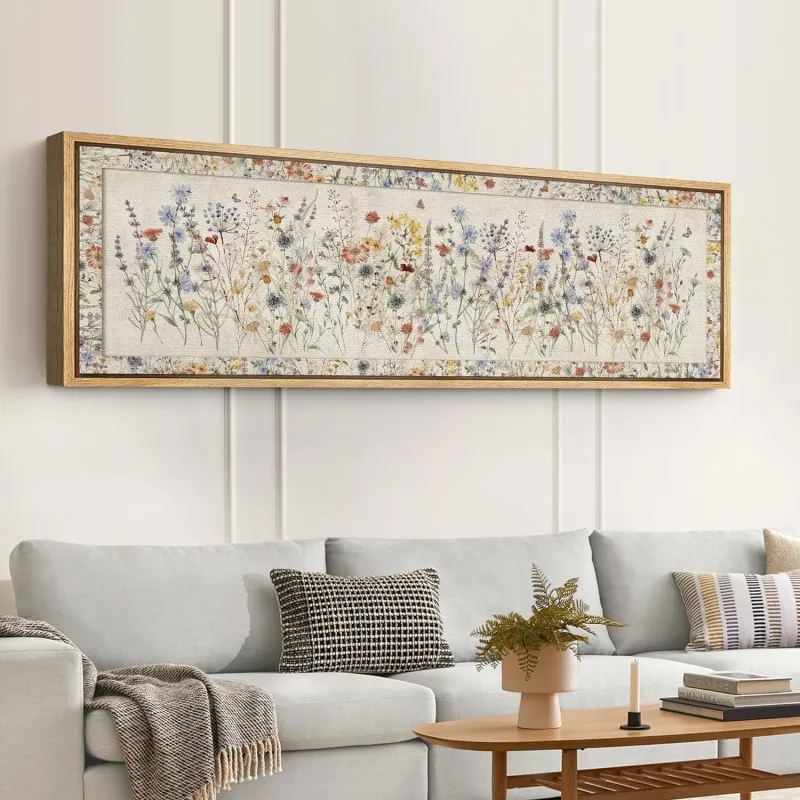
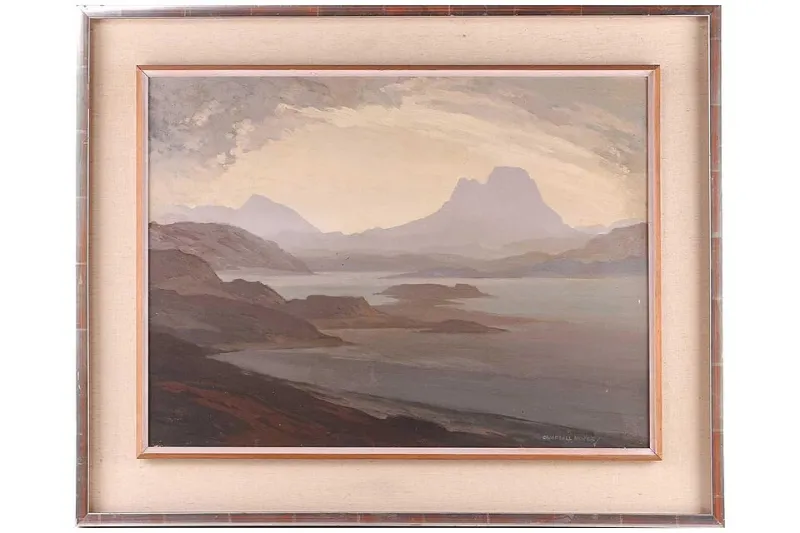
The most underrated method in renting. A print propped on a mantelpiece, a bookshelf, the top of a sideboard or the floor against the skirting looks deliberate rather than lazy, and it needs nothing but a wall behind it. Lean a larger landscape print against the wall and overlap it with a smaller city print in front. Pop a couple of felt or rubber bumpers on the bottom corners so the frame doesn't scuff the paint, and you're done. This works especially well with wide panoramic prints of coastlines and long city skylines.
3. Use the picture rail you already have
If you're in a Victorian or Edwardian flat — Glasgow tenements, Edinburgh's New Town, plenty of London conversions — there's a decent chance you've got a picture rail running around the room, or a dado you can work with. Picture rail hooks and cord are the traditional answer and they hang from existing moulding without a single new fixing. It's the most period-appropriate way to display a heritage print, and arguably the least effortful.
4. Clips, pegs and a length of string
A taut line of string or baker's twine tied between two removable hooks, with prints held by bulldog clips, is a cheap and cheerful renter's gallery. It suits lighter, unframed pieces — a risograph, a small lino cut — and it's endlessly rearrangeable, which is half the appeal. Keep the weight low and the line short, or it will sag in a way that no amount of adjusting will fix.
5. Let the furniture take the strain
A picture ledge, a ladder shelf or a freestanding leaning shelf all put prints at eye level without touching the wall. Bookcase styling counts too: prop a small Scottish city print between books, or stand one on a shelf in front of a stack of spines. There's something pleasantly unstuffy about a print that's been squeezed in among paperbacks, and it's the easiest way to live with art in a room you can't alter.
6. Hang on the back of a door
Over-door hooks and hanging organisers aren't just for coats. A slim over-door hanger with a print clipped to it works in hallways, box rooms and anywhere the wall space is all doors and windows. It's not a gallery wall, but it fills an awkward gap and comes off in seconds on moving day.
7. Plan a gallery wall that can travel
This is the one that saves the most money long-term. Before anything goes up, cut paper templates to the size of your frames, tape them to the wall with low-tack tape, and shuffle them around for a week. Most gallery walls fail because they were committed to in one afternoon.
A few rules that make a cluster easy to rehang somewhere else:
- Pick one anchor — usually the largest, most graphic print — and build around it.
- Keep gaps consistent, roughly 5–7cm, rather than eyeballing each one.
- Align edges rather than centres; a shared top or bottom line looks intentional.
- Photograph the finished wall. When you move, you've got a plan to work from.
- Hang each column with a single fixing and a shared cord where possible, so there's one point to remove rather than four.
Framing light, moving easy
Renters should think about weight and glass. Acrylic glazing is lighter and far less likely to shatter in a box, which matters if you're moving every year or two. Clip frames are cheap, near-weightless and look perfectly good with a bold screenprint. And keep the packaging: cardboard corners, bubble wrap, the lot. A shoebox of protection lives under the bed and pays for itself the first time you move.
The moving-day routine
Roll unframed prints loosely around a cardboard tube, faces outwards. Stack framed pieces upright rather than flat, separated by towels or cardboard, and tape an X across the glass or acrylic. Then take everything off the wall a week before you leave, so any adhesive residue has time to be dealt with — a gentle warm hairdryer and a fingernail usually does it — rather than being discovered during a checkout inspection.
Renting shouldn't mean blank walls for years at a time. With a handful of removable strips, a picture rail and a bit of leaning, a rental can look properly like yours — and the deposit can come back intact.